OK, so, you're working in After Effects on an amazing infographic piece slated to become the best thing out there since that Stuxnet video. You've got your master comp with the audio bed in place, and have a series of precomps w/ audio & graphics sequenced and arranged together in your main composition.
You're working away on your project, have everything in each precomp chapter timed out and synced properly with the audio, and then... your client wants to re-record the VO. Or add in some copy. Or needs an alternate language version.
Alright, that's cool, we'll just drop in the new audio, slide our precomp over in time to where it should now be, open it up and do a preview to ensure everything's aligned properly. Except– the audio clip in the precomp is now out of sync with the master, as we've time-shifted the entire thing!
Here's a quick little expression that uses the linear() function to make sure your precomp's audio is always synced up with your master audio.
The Code
This will be applied to the Time Remap property. It requires that your audio layer (be it a layer or precomp):
- has the same name in this child composition as the parent, and
- will need user input for the name of the source comp.
// Set the part in quotation marks to be the name of your parent comp.
var parentComp = comp("Main Comp");

var compStartTimeInParent = parentComp.layer(thisComp.name).startTime;
var audioStartTimeInParent = parentComp.layer(thisLayer.name).startTime;
var timeOffset = compStartTimeInParent - audioStartTimeInParent;

var startTime = this.startTime;
var endTime = this.source.duration + startTime;
var offsetStart = startTime + timeOffset;
var offsetEnd = endTime + timeOffset;

linear(time, startTime, endTime, offsetStart, offsetEnd);
The Explanation
This expression looks at what time both the whole precomp and the audio layer specifically starts in the master comp. Then it looks at the start and end points of the audio layer inside of the precomp, and remaps the inner start & end points to match that of the master audio layer.
The first set of lines are teaching the expression what each value is, with the vital piece of logic coming in last– the linear() function. This, along with the other functions under the Interpolation menu option of the Expression language menu, are all about automating values and mapping properties across each other.
Now, back to our specific case. Here, we're giving it five variables:
| time | the current project time |
| startTime | the time the precomp's audio layer starts, in relation to the precomp |
| endTime | the time the precomp's audio layer ends, in relation to the precomp |
| offsetStart | the start time from above, offset by master comp offset |
| offsetEnd | the end time from above, offset by master comp offset |
Technical Breakdown
By default, the variables for linear() are listed as linear(t, tMin, tMax, value1, value2). Translating this into English, it would read "As the value of variable t changes from tMin to tMax, output a value between value1 to value2." While this can sound a little confusing and vague, let's look at it in a practical sense.
Slotting in some values, let's look at linear(time, 0, 5, 40, 60). This would mean "as the current time in the comp goes from 0 seconds to 5 seconds, output a value between 40 and 60". If the current time is below 0 or above 5, the output will be capped at 40 or 60, respectively.
The word "linear" means that the values will be mapped in a directly linear fashion– 10% of the way between 0 and 5, the output value will be 10% of the way between 40 and 60, and so on. Available alternatives are ease(), easeIn(), and easeOut().
Thus, this can be used as a handy way to automate some animation without any keyframes whatsoever!
Read more about interpolation expression methods here.
So what this says is "as the current time in the comp goes from the start of the precomp's audio to the end, output a value between the start and end of the audio clip in the master comp." This will give a value in seconds. As we're slotting it into the Time Remap function, we're now retiming the child layer to match the current time of the parent.
The Application

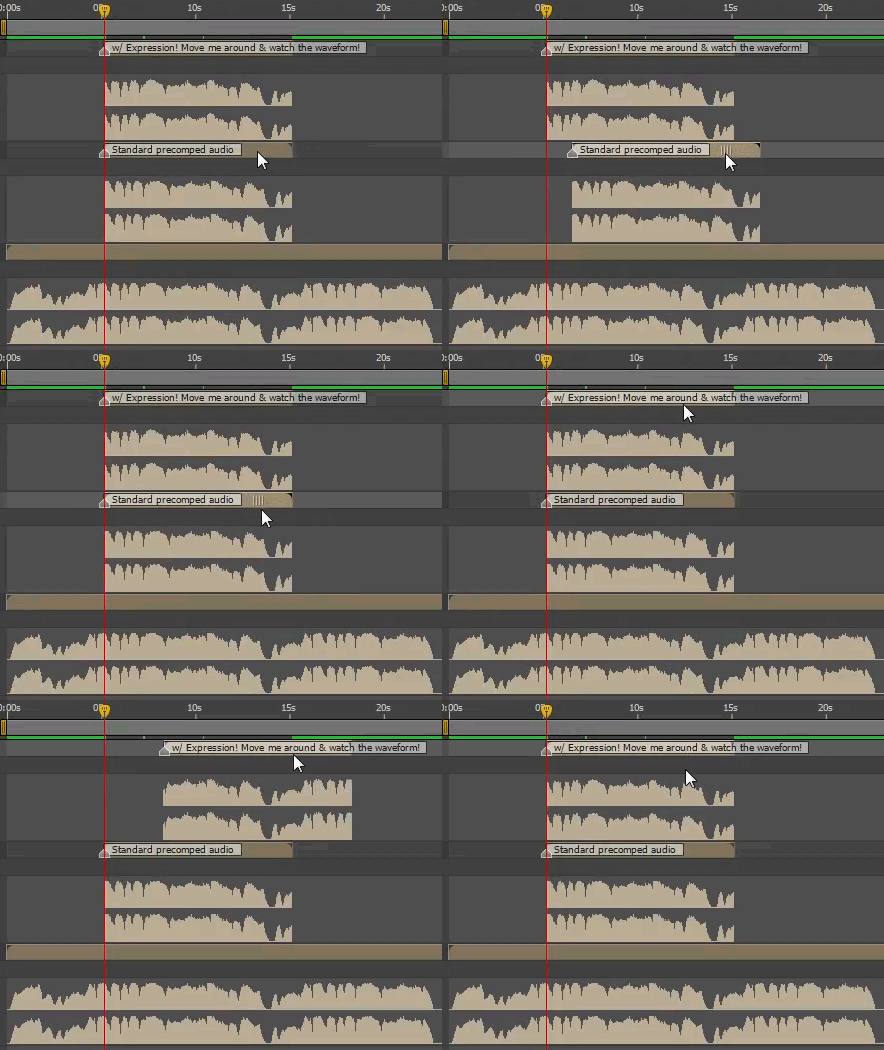
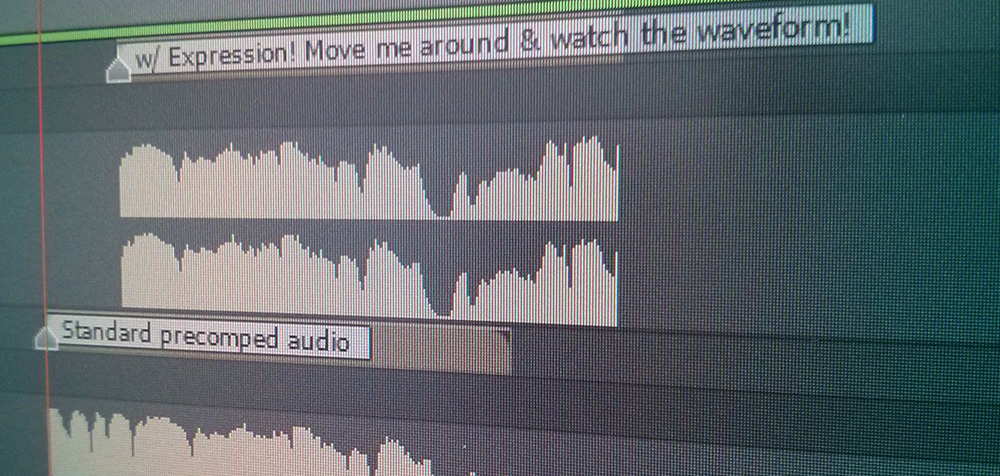
Now, you can slide around your precomp to your heart's content, and the audio will always match up with your master. See here the before/after, and keep in mind that the expression is being placed on the audio layer inside the precomp, not on the precomp itself.
Two caveats:
- If you shift the main audio in the main timeline, you'll need to 'refresh' the child comp's position to update. Either slide it around and put it back, or move the play head to the start of the precomp and hit [ on your keyboard to shift the precomp to this start time.
- If you have multiple audio tracks with the same name in the parent, the expression will pull from the topmost one. A better workflow is to have a dedicated audio precomp with your edit/mix in there, and use that everywhere in lieu of raw files.

Rob
– But what if there is more than one level of comps between the sound files that have to be synced?